Rec.709 color grading: the standard everything ends up in
Whatever you shot it in, almost every video finishes in Rec.709. Knowing what those three letters and a number actually specify is what stops your export looking wrong everywhere except your own monitor.
Rec.709 is shorthand for ITU-R BT.709, the standard that defines HD video. YouTube, Vimeo, broadcast SDR and essentially every screen your work will be watched on assume it. You can shoot log, RAW or anything else you like, but the file you upload is almost certainly Rec.709 — so it is worth knowing exactly what you are delivering into.
What Rec.709 actually specifies
Three things, and only three things:
- Primaries. Precisely which red, green and blue the format can reproduce. This sets the size of the colour gamut.
- White point. D65, a daylight-balanced white at roughly 6500K.
- Transfer function. The gamma curve mapping stored values to displayed brightness.
That is it. Rec.709 says nothing about resolution, frame rate or codec. A 4K file can be Rec.709; so can a 720p one. When someone says "deliver in 709", they mean those three properties.
Rec.709 vs sRGB: the same, until they aren't
Rec.709 and sRGB share identical primaries and the same D65 white point. The colours available are the same. What differs is the transfer function: sRGB uses a curve approximating gamma 2.2 with a small linear section near black, designed for a bright office; Rec.709 content is mastered for a display gamma nearer 2.4 in a dim room, as formalised in BT.1886.
This is why a grade that looked rich in your suite can look flat and slightly lifted in a browser. Nothing is broken. You graded for one viewing condition and it is being displayed under another.
Gamma 2.4 or 2.2: which to grade in
Pick based on where the work will actually be watched, then stop second-guessing it.
- Gamma 2.4 (BT.1886) if you grade in a genuinely dark, controlled room and deliver to broadcast. This is the reference standard.
- Gamma 2.2 if you work in a normally lit room and your audience is web-first. For a YouTube-focused editor this is usually the honest choice.
- Rec.709-A is Resolve's Apple-specific variant, built to deal with how macOS and QuickTime handle gamma tagging. If your exports look consistently darker or more contrasty in QuickTime than in Resolve, this is the setting to try.
The mistake is not picking the "wrong" one. It is switching between them mid-project while chasing a match that was never going to happen on an uncalibrated screen.
Data levels: the reason your blacks look milky
This single setting causes more "it looked right in Resolve" problems than everything else combined. Video can be encoded across two different numeric ranges:
- Video range (also called legal or limited): 16–235 in 8-bit, 64–940 in 10-bit.
- Full range (also called data): 0–255 in 8-bit, 0–1023 in 10-bit.
The values are just numbers; what matters is that everyone agrees which range is in use. When a clip is tagged one way and interpreted the other, you get one of two signatures: washed-out, milky blacks and grey whites when full-range material is read as video range, or crushed shadows and clipped highlights when it goes the other way.
In Resolve, check it in two places. Right-click a clip in the Media Pool and look at Clip Attributes → Data Levels for the input side, then check Data Levels on the Deliver page for the output side. Nine times out of ten the fix is setting the clip explicitly rather than leaving it on Auto.
Scope targets in Rec.709
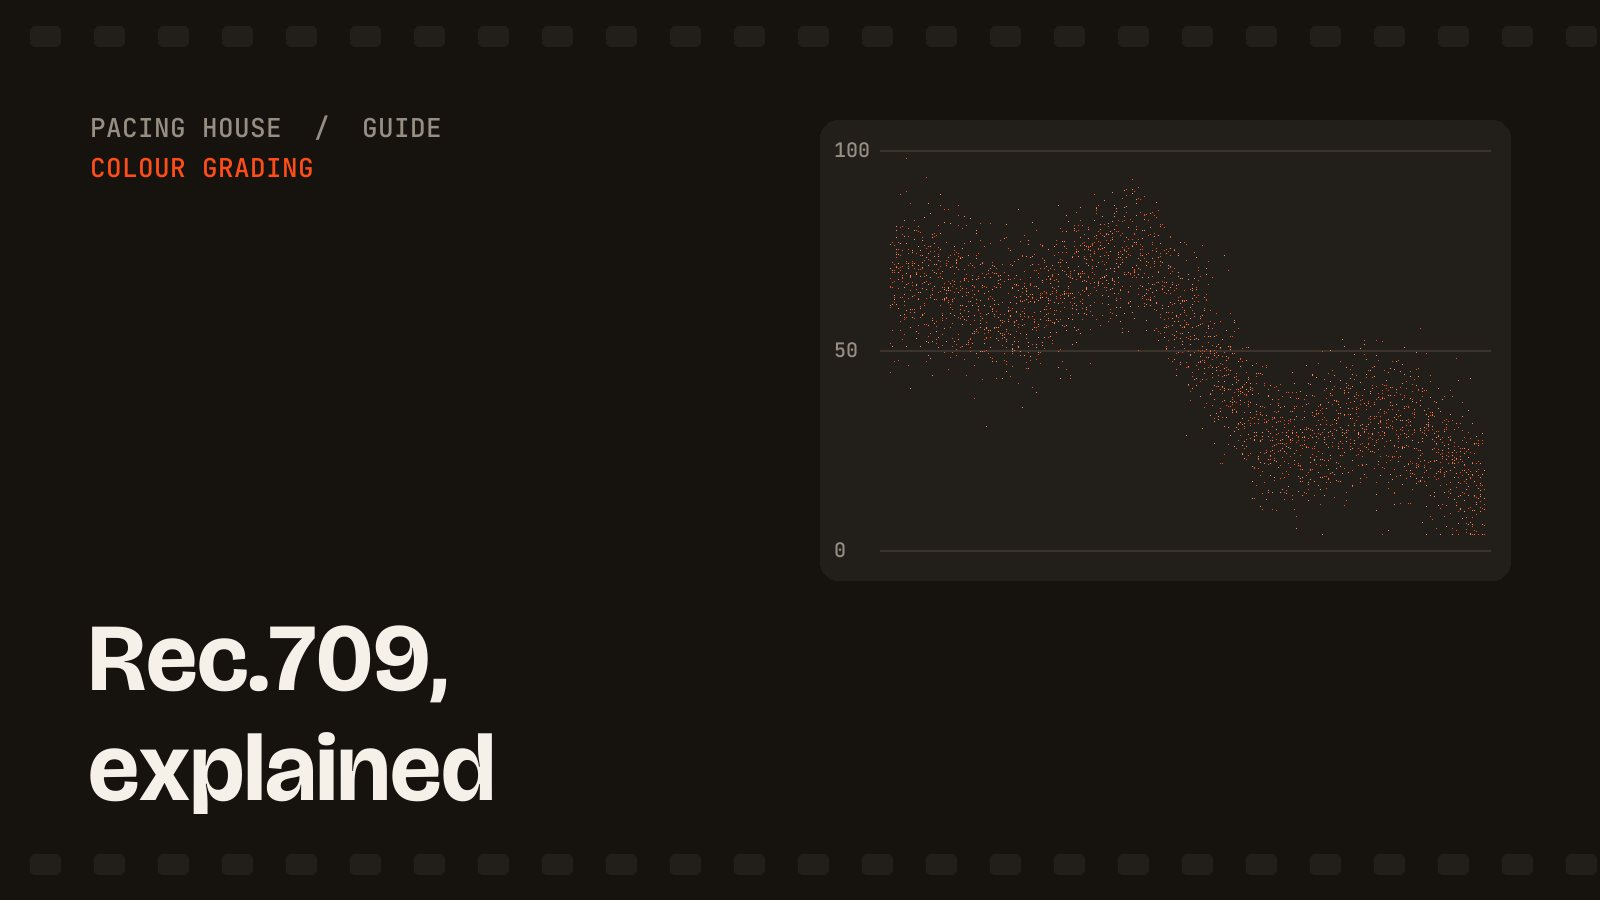
The waveform in Rec.709 runs 0 to 100 IRE. Useful anchors, none of which are rules:
- Blacks should sit at or just above 0. Pushing below is clipping, not contrast, and the detail does not come back.
- Highlights stay under 100, with the exception of genuine speculars — a glint off metal or water can touch the top without hurting anything.
- Skin generally lands between 55 and 75 IRE depending on complexion and lighting, and should sit close to the vectorscope's skin tone line whatever that complexion is.
- Broadcast safe matters only if you are delivering to television. YouTube does not require it, and enabling the limiter by reflex can flatten highlights you wanted.
Getting from log into Rec.709
Use a Color Space Transform with your camera's colour space and gamma as the input and Rec.709 as the output, then set the output gamma to whichever you chose above. Enable tone mapping: your source almost certainly holds more dynamic range than Rec.709 can contain, and tone mapping rolls that off smoothly instead of clipping it flat.
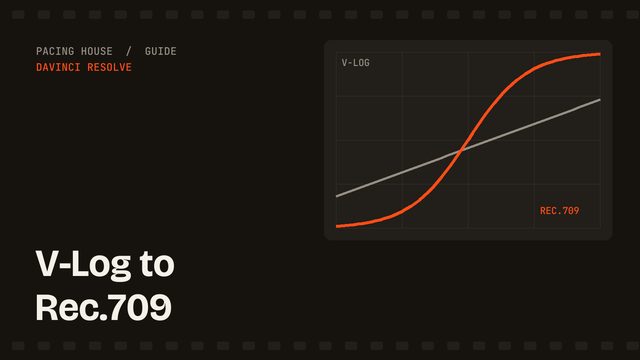
The camera-specific settings and node order live in the LOG grading guide, and Panasonic shooters will want the exact V-Gamut values in the V-Log guide.
Does HDR make Rec.709 obsolete?
No, and this trips people up. Rec.2020 and HDR standards are a separate delivery path, not a replacement. SDR Rec.709 remains the default for the overwhelming majority of online video, and an HDR grade demands a calibrated HDR display to judge and a separate SDR version anyway. Deliver Rec.709 unless a client has specifically asked for something else and is paying for the extra pass.
Common Rec.709 mistakes
- Leaving data levels on Auto, then grading around a mismatch that was never in the footage.
- Grading on an uncalibrated laptop in a bright room and trusting the image over the scopes.
- Applying a Rec.709 creative LUT to unconverted log footage.
- Switching output gamma halfway through a project to chase a match with a phone screen.
- Enabling broadcast safe on a web deliverable out of habit.
Every cut I hand over is graded and checked against scopes in Rec.709 before it ships. See YouTube video editing, or start with the LOG workflow if your footage is still flat.