How to color grade LOG footage in DaVinci Resolve
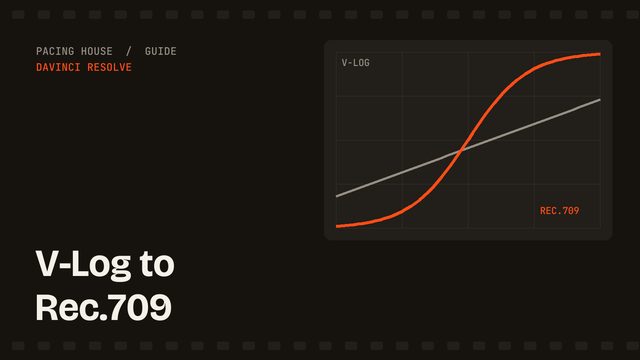
LOG footage looks flat and grey straight out of the camera. That is the point: it keeps the detail. This is the simple, repeatable way to turn it into a clean Rec.709 image.
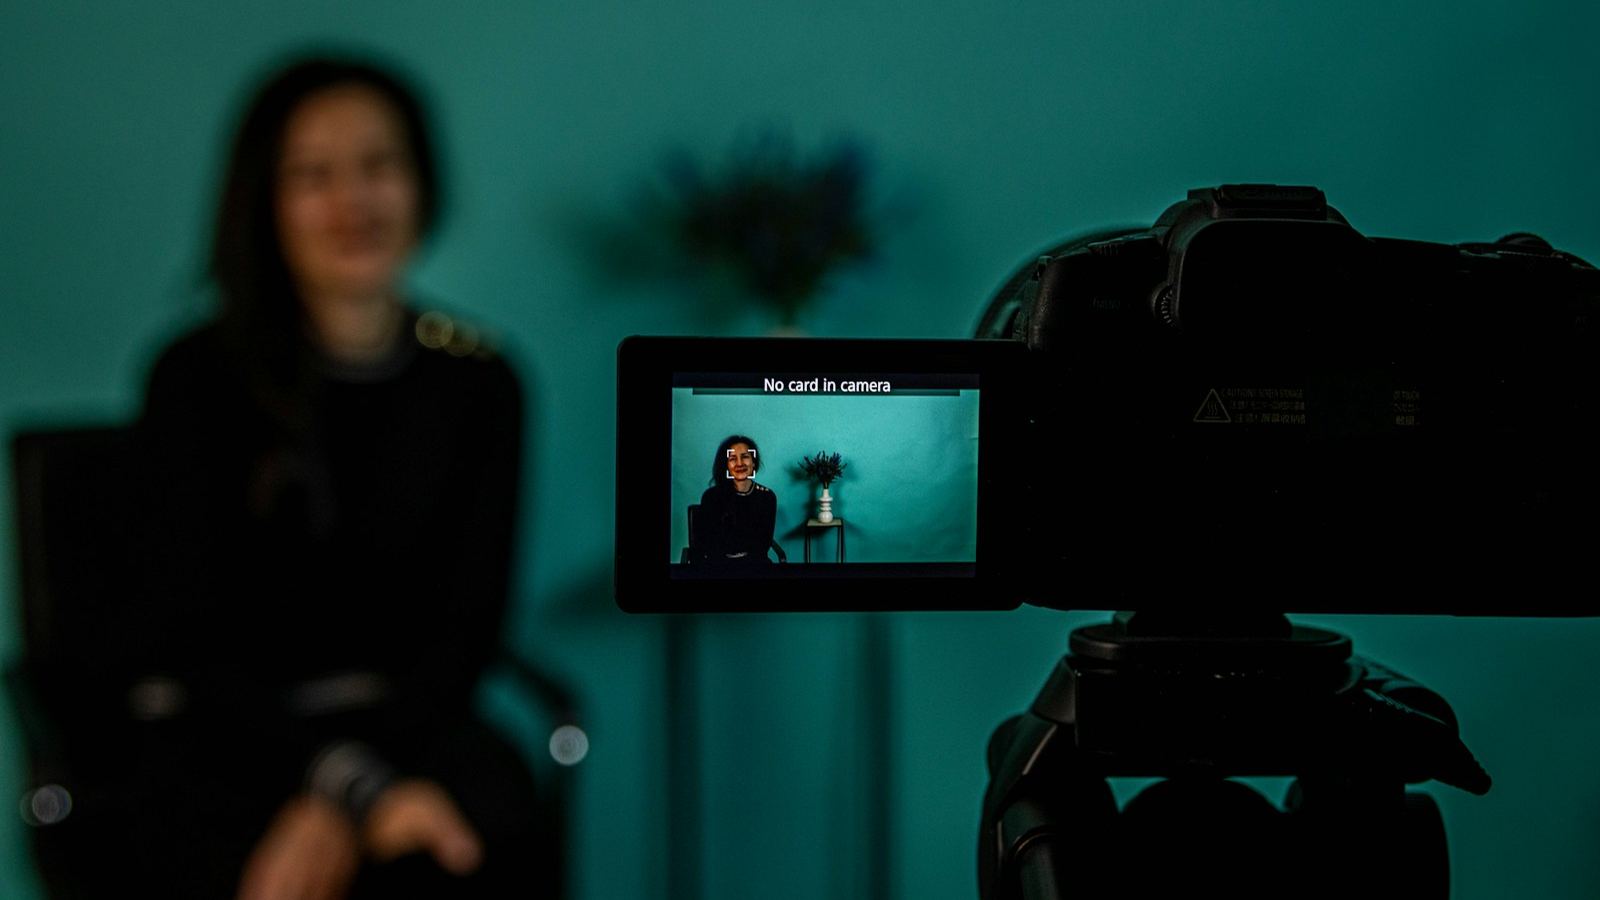
LOG profiles like S-Log3, C-Log, V-Log and Apple Log record a flat, low-contrast image on purpose. They spread the camera's dynamic range across the file, so you keep detail in bright skies and dark shadows that a normal profile would clip. The catch is that LOG footage must be converted and graded before it looks right. Here is a clean beginner workflow in DaVinci Resolve.
Step 1: Tell Resolve what the footage is
There are two common ways to handle color conversion. Pick one per project.
Option A: Resolve color management (simplest)
- Open Project Settings → Color Management.
- Set the color science to DaVinci YRGB Color Managed.
- Choose an output color space of Rec.709 for YouTube and social video.
- In the Media Pool, right-click your clips and set the Input Color Space to your camera's LOG profile, if Resolve hasn't detected it from the metadata.
Option B: A Color Space Transform node (more control)
Leave color science as DaVinci YRGB and add a Color Space Transform effect on a node. Set the input color space and gamma to your camera (for example S-Gamut3.Cine / S-Log3) and the output to Rec.709 / Gamma 2.4. Enable tone mapping so highlights roll off smoothly instead of clipping.
Step 2: Build a simple node tree
A consistent node structure makes every grade faster. A good starting layout, if you use Option B:
- Exposure and white balance. Correct the image before conversion, while the data is still wide.
- Color Space Transform. LOG to Rec.709.
- Contrast and saturation. Shape the overall look.
- Secondary corrections. Skin tones, skies, specific colors.
- Creative look. The final stylistic touch, kept subtle.
Label your nodes. When you copy a grade to fifty clips next week, you'll be glad you did.
Step 3: Grade with scopes, not just your eyes
Monitors lie, and eyes adapt within minutes. Open the scopes and keep them visible.
- Waveform: shows brightness from left to right across the frame. Keep blacks just above the bottom and highlights below the top, unless clipping is a choice.
- RGB Parade: shows red, green and blue separately. Something white or grey in the shot should have all three channels at roughly the same height. That is your white balance check.
- Vectorscope: shows hue and saturation. Turn on the skin tone indicator: most skin tones, whatever the complexion, sit close to that line.
Step 4: Get skin tones right
Viewers forgive a lot, but not strange skin. Isolate the face with a qualifier or Magic Mask, check it against the vectorscope skin line, and make small hue and saturation adjustments. Keep a light touch: a little warmth and natural saturation looks healthy, while too much turns orange quickly.
Step 5: Match your shots
Grade one hero shot per scene first, then match the rest to it. Use a split screen or the gallery to compare shots side by side. Consistency across a scene matters more than any single shot looking perfect.
Step 6: Export for YouTube
- Export in Rec.709 with a high bitrate H.264 or H.265, or use the YouTube preset in the Deliver page.
- If your export looks washed out compared with Resolve on a Mac, the cause is usually how gamma is tagged and displayed, not your grade. Resolve's Rec.709-A output option is designed to address this for Apple displays.
- Always check the uploaded video on a phone and a laptop before publishing.
Beginner mistakes to avoid
- Applying a creative LUT directly to LOG footage without converting first.
- Pushing saturation to make up for a poor white balance.
- Crushing blacks until detail in hair and clothing disappears.
- Grading in a bright room on an uncalibrated screen and trusting it without scopes.
Those are the four that cost you the most. For the full list, with the specific fix for each, see 9 colour grading mistakes that make videos look amateur.
A Rec.709 grade with skin tone isolation is part of every finished edit I deliver. See YouTube video editing, or compare editors in the best video editing software for YouTube.