V-Log color grading in DaVinci Resolve
Panasonic's V-Log converts to Rec.709 with a single node. Everything that makes it look good happens in the four nodes around it, and in how you exposed it before the camera ever rolled.
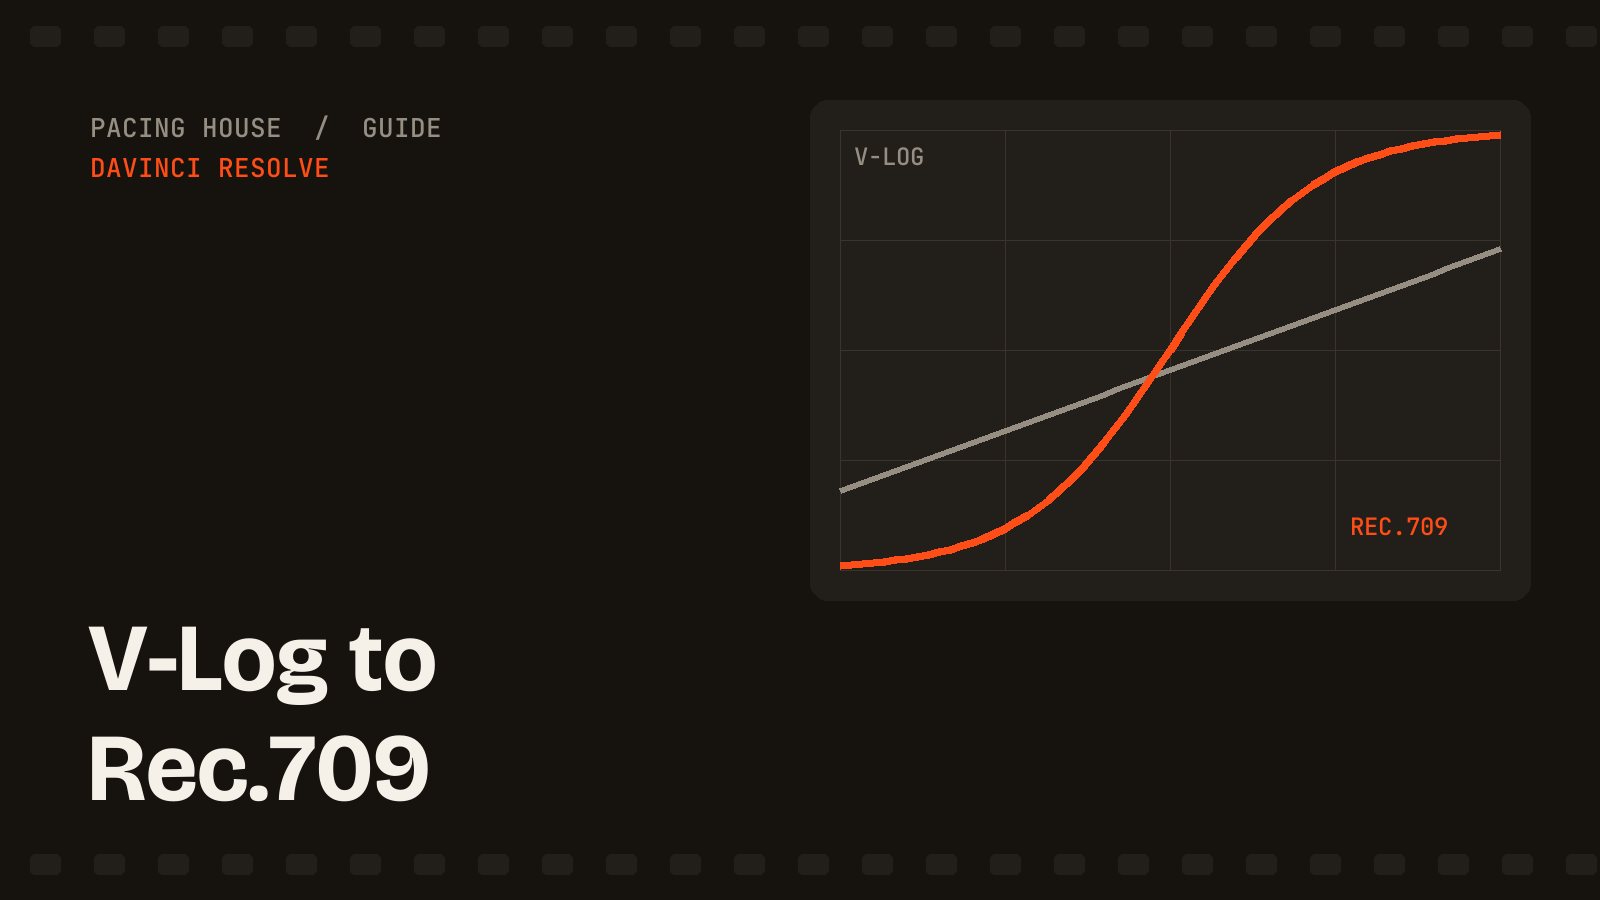
V-Log is Panasonic's log gamma curve, and V-Gamut is the colour space that sits underneath it. Together they record a flat, desaturated image that holds far more dynamic range than a standard profile. Resolve converts that to a normal picture in one step, but a conversion is not a grade. This is the full workflow, including the two colour habits V-Log has that nobody warns you about.
V-Log and V-Log L are not quite the same thing
Both curves share the same shape and the same V-Gamut primaries, so they convert identically. The difference is headroom.
- V-Log ships on the S-series and GH6-class bodies and captures roughly 14 stops.
- V-Log L is the cut-down version that arrived on the GH4 and GH5 as a paid upgrade. It runs closer to 12 stops and clips sooner at the top end.
The practical consequence: the settings below are identical for both, but you cannot push V-Log L as hard. Blow a highlight on V-Log L and there is nothing underneath to recover.
Step 1: Expose for 42 IRE, at native ISO
V-Log places 18% middle grey at 42 IRE and 90% reflectance white at 61 IRE. Those two numbers are the whole exposure spec. Put a grey card in frame, open the waveform, and land it on 42.
Shoot at your camera's native ISO wherever you can. Panasonic bodies are dual-native in V-Log and the noise floor climbs quickly between the two bases, so check your specific model rather than guessing: the GH5 runs V-Log L at ISO 400, while the dual-native S-series bodies sit at 640 and 4000.
Two more in-camera choices decide how gradeable the file is:
- Shoot 10-bit if the body offers it. V-Log stretches tonal values across the file, and 8-bit does not have enough steps left to survive it. Skies and soft gradients band visibly.
- Rate it slightly bright. Two-thirds of a stop over, then pull back in the grade. V-Log's shadows get noisy fast, and exposing to the right keeps the noise where you cannot see it.
Step 2: Convert with a Color Space Transform
Add a Color Space Transform to a node and set it exactly like this:
- Input Colour Space: Panasonic V-Gamut
- Input Gamma: Panasonic V-Log
- Output Colour Space: Rec.709
- Output Gamma: Rec.709, or Gamma 2.4 if you grade in a properly dark room
- Tone Mapping: on, so the extra stops roll off instead of clipping flat
Panasonic also gives away an official conversion LUT, VLog_to_V709.cube, free from their support site. It is a fine starting point and it is what most Panasonic shooters reach for first. The tradeoff is that a LUT is a fixed table: it cannot adapt to how you exposed the shot, and it will clip anything that lands outside the range it was built for. The Color Space Transform does the same job mathematically and stays flexible. If you do use the LUT, give it its own node so you can turn it off.
Step 3: Correct before the conversion, not after
This is the single change that separates a clean V-Log grade from a fragile one. Exposure and white balance belong on a node upstream of the Color Space Transform, while the image is still log-encoded and the data is still wide. Once the CST has mapped everything into Rec.709, your highlights are already compressed and a recovery that would have been trivial is now impossible.
The general LOG node tree applies here unchanged: correct, convert, shape contrast, then secondaries, then look.
Step 4: Fix the two things V-Log always does
Every log curve has a personality. V-Log has two, and once you know them you will spot them on every shoot.
- Green or magenta shadows. V-Log's lower third rarely converts perfectly neutral. Look at the bottom of the RGB Parade: if the green channel sits above red and blue down there, pull it back with a lift adjustment rather than a global tint, which would drag your midtones with it.
- Oversaturated reds. V-Gamut is considerably wider than Rec.709, so saturated reds get pushed hard by the conversion and go blocky. Fix this with a Hue vs Saturation curve targeting red specifically. Dropping global saturation to tame one colour drains the whole image.
Step 5: Land skin tones
Panasonic skin tends to convert slightly yellow-green. Isolate the face with a qualifier or Magic Mask, then check it against the vectorscope's skin tone line and nudge the hue a touch toward red. On the waveform, most well-lit skin sits somewhere between 55 and 75 IRE, varying with complexion and how the subject is lit.
Common V-Log mistakes
- Applying the V-709 LUT first, then trying to fix exposure on top of it.
- Shooting between the two native ISOs and blaming the noise on the camera.
- Dropping a creative LUT built for Rec.709 straight onto unconverted V-Log.
- Shooting 8-bit V-Log L on a scene with a large, soft sky, then wondering where the banding came from.
- Grading V-Log L as aggressively as full V-Log and clipping the highlights off.
Every edit I deliver gets a proper conversion and skin tone pass before anything creative happens. See YouTube video editing, or read what Rec.709 actually specifies before you set your output gamma.